After shelter, fire is one of the most essential elements needed in the wilderness. Further than being a tool for heat and nourishment preparation, having a fire at hand can also keep predators away from your campsite
Learning how to make a fire is a crucial part of both survival and outdoor time. Fire facilitates building tools, preparing material to purify water, cooking, keeping yourself dry and warm among many other uses.
Due to the numerous things you can accomplish by having a fire, it is essential to learn how to start a fire before embarking on an outdoor activity. Here are a few tips that will help you learn the steps and measures you need to take into account to learn how to make a fire.
Safety Measures
Our ancestors have used fire as a means of survival for thousands of years, and although it is an essential means of nourishment preparation and light, fire can also have catastrophic consequences when safety measures are not applied effectively.
One of these consequences can be to cause a wildfire as a result of lack of diligence while dealing with fire. When having a fire burning, have a bucket full of water next to it. If the fire happens to spread for any reason, you could easily put it out with the water on the bucket before the fire grows. But causing a wildfire is not the only issue you could have with fire.
Myth-like Scenarios that Could Happen to You
Some stones have water residing inside them, which means that if a stone is heated enough, the steam inside of the stone would produce pressure due to the water residing inside of it. This could cause a stone to crack or explode, which can be extremely dangerous.
Something that may seem implausible is for a fire to start unaided. However, it can happen that tree roots that have been burned elsewhere start to burn several feet away from the origin.
This is the one of the reasons why camping sites have designated areas where you can dig without breaking any roots.
Getting Started Making a Fire
Fire ignites from a weak source of heat which, if taken care of, can grow into a stronger source of heat. There are three components that are needed to make a successful fire; these components determine how much smoke your fire will produce. Dry materials will make less smoke and they will be easier to burn.
In order to work the material you will need to start a fire it would be ideal to have a hatchet with you, but if you don’t have one, a survival knife will help.
To start a fire you will need embers, a lighter or matches. Ember needs to develop in fire through stages, which is a process that can be very interactive. But ember is not all you will need. There are a few things that you will need to gather in order to get started making a fire, such as:
- Tinder
- Kindling
- Wood Logs
The material should be used from the smallest to the biggest-sized pieces as the fire grows.
Tinder

Tinder could be the material that you struggle the most to find as you are learning to make a fire. To stay ahead of the game, you should consider collecting tinder whenever you can and keep it for when you will need it.
As you are collecting tinder, gather only pieces that are dry, such as hay. While it is still possible to make a fire from green, or alive, tinder it will indeed be difficult to start and keep a fire going. In the best-case scenario that you do start a fire with green timber, your fire would create a lot of smoke.
Among the most popular tinder you can find is grass, dry bark, dry leaves and some fungi. Bear in mind that not all leaves burn easily. If you don’t find any of these elements, you can always shave some wood; it would be best if said wood is fatwood.
You may also consider taking your own tinder with you, which could be cotton balls, char cloth or twine, which works best if undone.
Tinder catches fire easily, which is the component that turns an ember into a fire. If you have a lighter or a match, you can burn the tinder directly without having to worry about the ember. However, a fire made out solely of tinder would not last long, therefore it will need to be made to grow quickly.
Kindling
Once you have started a small fire you will need to feed it with something bigger than tinder. This must be done before your starting fire burns out completely.
To keep a small fire going and growing, you can add small twigs and branches. Don’t use big logs just yet, as they would be too big to be burned by small flames.
Just like before, you will need to add some dry wood – don’t go for anything that is bigger than a pencil. Branches that snap easily and don’t bend when you try to break them make good kindling. If a branch is bendy, then the wood is still alive and will have green in the center.
If your kindling is too humid, it will smoke a lot as mentioned previously, but this is the least of your problems as it can also make your fire burn out. If all you can find is humid wood, chop it into smaller pieces and try to shave some wood out to put it to dry. The smaller the pieces are, the easier it will be to dry and burn afterward. Removing humid bark from around your kindling could also be a good option.
Adding kindling is a crucial stage in the process of building a fire, and it can take more time and energy than you expect, so collect more material than what you estimate you will need.
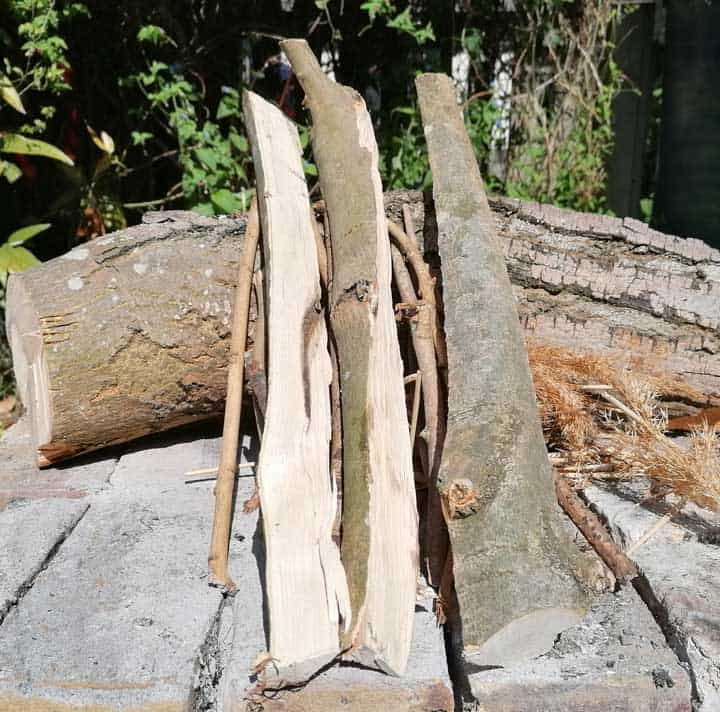
Wood Logs
Once your fire has gotten started with the kindling, it is time to grow it. Contrary to belief, huge logs are not necessary to fuel a fire. The most important thing to consider in regards to log size, is that your fire must have the power to dry and burn the wood that you feed it. If a lot is too big, it would not be possible for a small fire to burn it.
If your wood is humid, the fire that you make with the kindling should be strong enough to dry out wood.
Methods
There are many ways in which you can set up a fire, but here are some of the four most popular fire lays:
Teepee Fire
The teepee fire lay is the classical fire stand you can see in most movies and photos, where the logs form a teepee shape from the frame of wood. At the bottom there is space for the tinder and around it there is kindling.
As you build this type of fire, you must understand that the space created by the frame needs to be big enough for your hand to fit inside of the teepee framework.
It is also important to leave a generous amount of empty spaces so that the air can flow and the fire can receive the oxygen it needs to burn.
The construction should have the smaller kindling in the center and progressively grow in size until the wood logs are used.
The teepee shape will not be retained, however, as the logs will fall as the fire burns. At that point, you will just need to continue feeding the fire for as long as needed.
Although a teepee fire is not necessarily the easiest and most efficient one to make, it certainly is the most romantic one, which makes it certainly worth a try.
Log Cabin Fire
The log cabin fire consists of creating some sort of “tower balance” with a missing central brick for each floor. This missing brick creates space for ventilation, which is a crucial component to maintain this fire-lay. To aid this, no walls should surround the fire and a small corridor can be dug on the soil in the same direction as the wind.
This fire will need to keep everything off the ground, for which there are two logs that are used to accomplish this. On top of the logs you would place the first layer of kindling, then two bigger logs would be placed on the extremities of the frame.
As the tinder will go on top of the first kindling, enough room would need to be left for your hands. The fire should be built by continuing with the same structure, adding more kindling with each new layer.
Although you should always use dry wood, this fire-lay can still work if the wood you will be using is not as dry.
This fire-lay is the simplest of the three and the layers should burn from the bottom to the top. This fire is ideal for cooking, but not to warm yourself up.
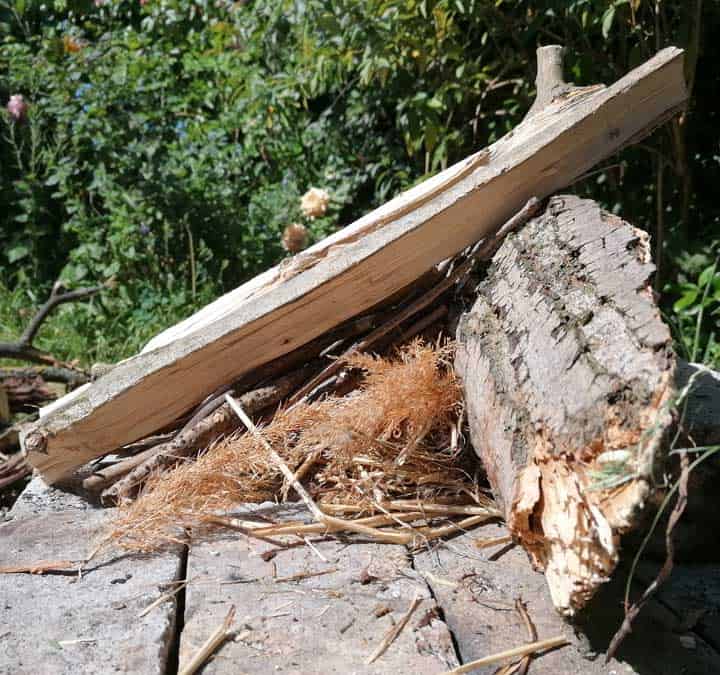
Lean-to fire
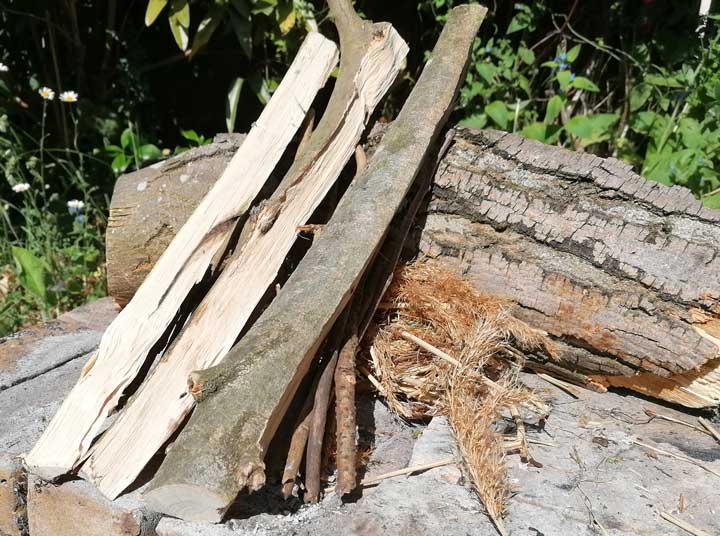
The lean-to fire lay consists of a large log laying on the ground and a few other components such as tinder, kindling and logs laying on the log and soil.
This fire lay should have an open space between the large log and the tinder laying perpendicular to it. There should be two open sides of breathing space and between the kindling and logs that lay on the large log.
The tinder must first meet the smallest kindling with bigger and bigger pieces being added to the top.
This type of fire is great for cooking.
Self-feeding Fire
If the type of fire you need is to create a source of heat, then the self-feeding fire is what you will need to keep you warm all night long. This fire depends heavily on the material, therefore you will need dry wood that is just the right size in order to make it burn efficiently.
The self-feeding fire requires a V-shaped ramp built out of sticks that will hold said “V” shape up. The “V” shape will be formed by large logs of wood which will function as fuel for the fire. As the logs from the corner of the “V” burn, the logs from the top will roll down automatically causing the self-feeding fire to occur.
At the corner of the “V” there will be two logs that will logically collide. These two logs must have a gap in between them. A piece of wood can be inserted between the logs to keep the gap open so that the fire can get started within that gap.
Once the logs have been put in the “V” position, you must add the tinder and the kindling below and in between the two first bottom logs to allow oxygen flow and keep the fire alive. You want to fill the gap that was made between the bottom two logs with tinder and kindle and then you can ignite the fire.
Depending on the size of your fire, a self-feeding fire can burn for up to 14 hours.
Some Key Elements:
- The V-shape should not be too steep, otherwise the fire will burn out too quickly.
- The scale of the fire should be made according to your needs. The smaller logs you use, the shorter the fire will last.
- Although the fire is self-fed, it will still require attention for a long time before it can actually self-feed.
- As this fire requires a solid amount of embers at the bottom of the structure, you will need to prepare a lot of kindling.
Putting a Fire Out
Putting out a fire may seem pretty straight-forward, but this can take much longer than expected. Unless your fire is within an isolated space with no possible way for it to spread, you will need to take precautions before leaving the area where you had a fresh fire going.
Although they may not be in plain sight, there could still be embers on your fire. Embers are extremely hot and if fueled they could revive the fire. It’s important to cool down the embers before walking away from a fire.
Something to consider is that if you will be putting out a fire in a designated area to make a fire, then you should consider not using too much water to put out the fire, as someone could perhaps need to use the area to make a fire after you.
To ensure the embers and charcoal have cooled down enough, you can sprinkle water on every ember and stir them with a piece of wood as the charcoal gets wet. After stirring, place your hand closer to the embers and feel the heat. If it still feels too hot, keep sprinkling water until it’s not too hot. Be careful not to burn your hand as you attempt to determine if the embers are cool enough.
Before leaving the area, dispose of the ashes so that the next person doesn’t find a fire bed full of ashes that they will have to dispose of themselves. If you have made your own fire bed, try to not leave traces of your passage and spread the ashes in the area so they can help the soil.
You may also choose to keep some of the ashes, as they can be helpful to make things such as soap or to start new fires in the future.
Now You are Ready!
While we have shared the basics of making a fire, this is just a little scratch on the surface. Practice making a fire before embarking on an outdoor adventure so that you know what to expect before making a fire is a necessity.
If this will be your first outdoor adventure, try to go to a place that is close to civilization so that if you find yourself in an emergency situation you can easily get some assistance. Post pictures of your first fire in the comments below to show us your newly acquired skills!


