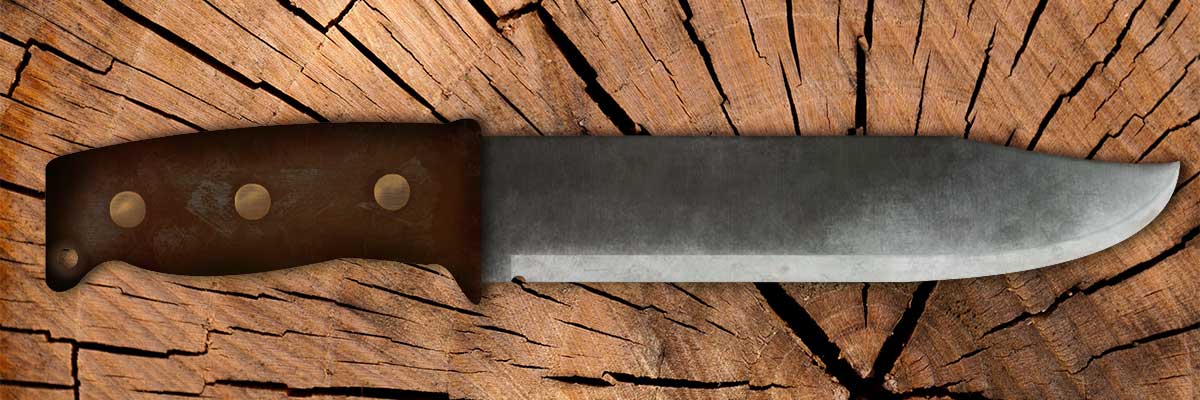
If you are an outdoor enthusiast, you know the importance of having at least one survival knife. I feel in my element when I’m outdoors, and I always use such a knife.
I almost had an accident one time when my knife slipped from my hand when I was cutting twigs for the fire. After this happened, I knew I had to get a handle with more grip, and a paracord solved my problem.
If you don’t know how to make a paracord knife handle, I will explain the steps below. But first, what is a paracord?
What is a Paracord?
A paracord is short for a parachute cord, and it is a lightweight nylon kernmantle cord made from the suspension lines in parachutes. Nowadays, it is a general-purpose utility rope that is very handy for the outdoors.
Benefits/Uses of a Paracord
Once you get to camp, you can use the rope to:
- Wrap around your knife’s handle for better grip
- Build a shelter by tying branches together
- Set traps
- Make a spear handle
- Make your gear more visible (if brightly colored)
The cord is very versatile and has several other uses, but I will focus on the knife handle. There are a few types of paracord knife handles, so let’s look at these first.
Types of Paracord Knife Handles
I’ll explain how to make a quick-release handle and well as two with average and longer untying times. You will need eight feet of paracords for each type.
Quick-Release Handle
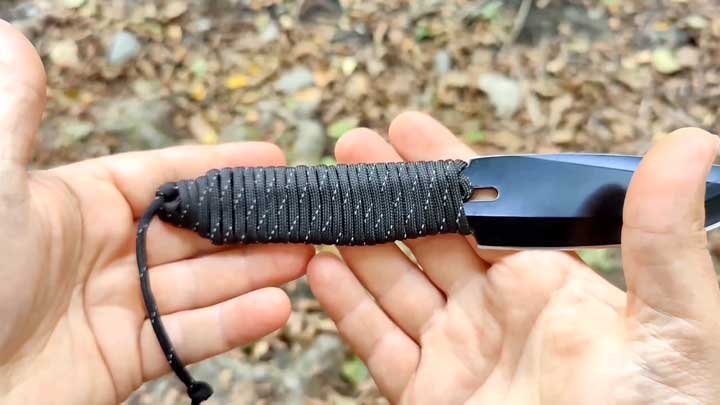
As the name suggests, this type is quick to undo, which makes it very functional.
How To Make It
- Use your thumb to stretch the rope on the surface and keep it in place. Leave the tag end of the loop exposed slightly on the blade end of the handle.
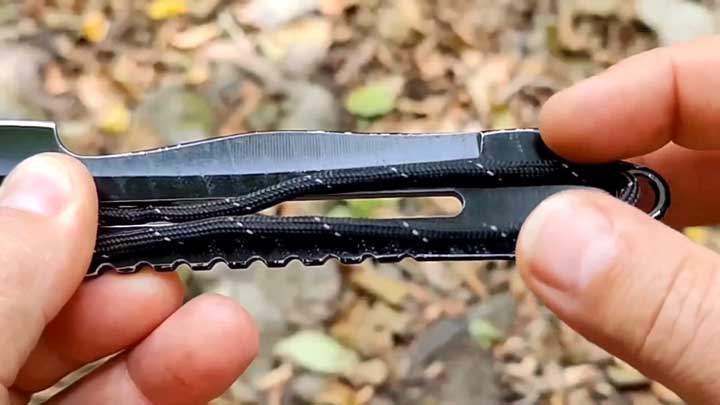
- Wrap the cord tightly around the handle, beginning at the base of the blade. As you wrap, use your thumb to push the rope forward so that it remains tightly knit.
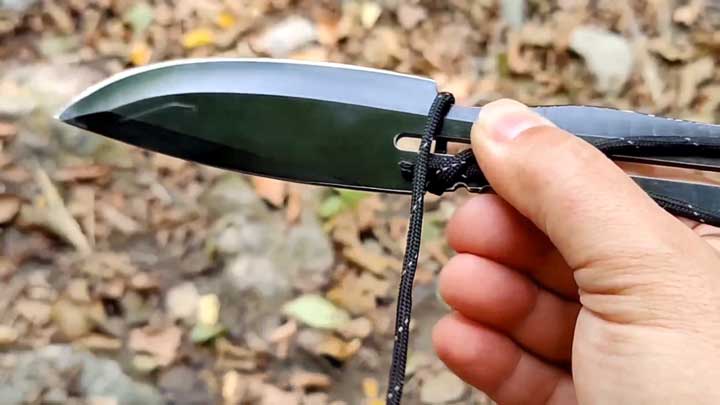
- When you get to the other end, make the last wrap, then insert the cord into the loop you had stretched on the surface earlier.
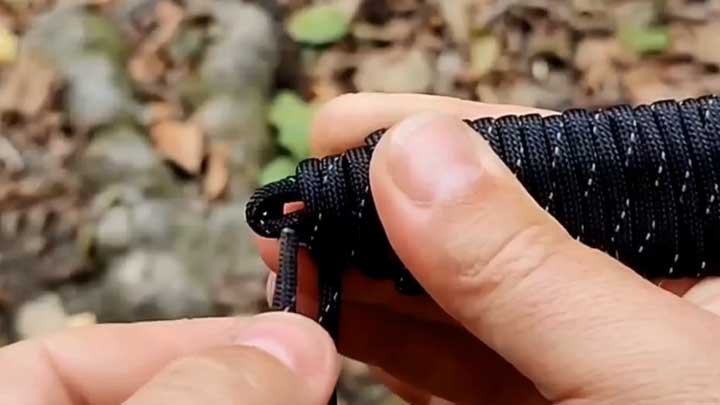
- Pull the tag end on the blade side until it tightly secures the cord on the other end.
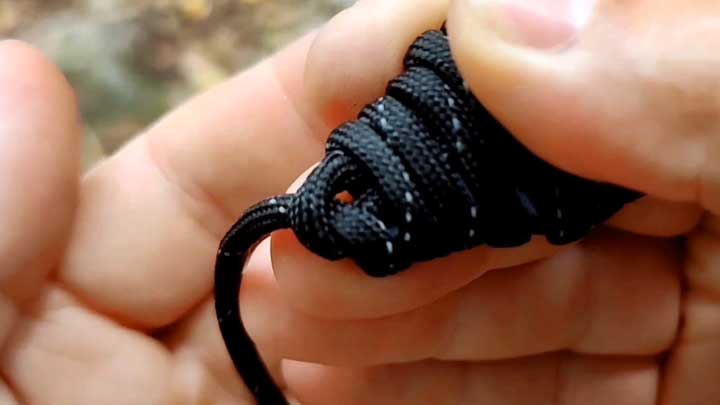
- Cut or tuck the excess cord on the tag end for a clean finish.
- On the other end, if the lanyard hole is not big enough, lock the cord using a knot. Otherwise, create a slot on the lanyard hole using the extra rope. Push this cord through the opening, then tighten everything to secure the paracord handle.
- Finish off by creating a loop on the hanging cord, and you’re good to go.
Pro
- Quick to undo
Con
- Not aesthetically pleasing
Handle with Average Winding and Untying Times
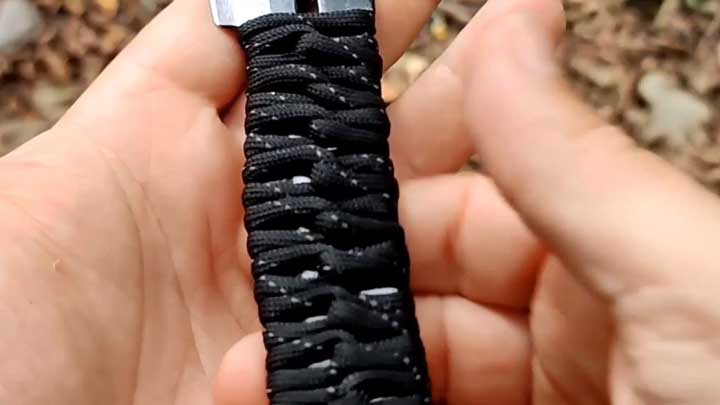
It takes a little bit of time and precision to set up this type of handle.
How To Make It
- Divide the rope evenly into two parts, then begin wrapping from the center point.
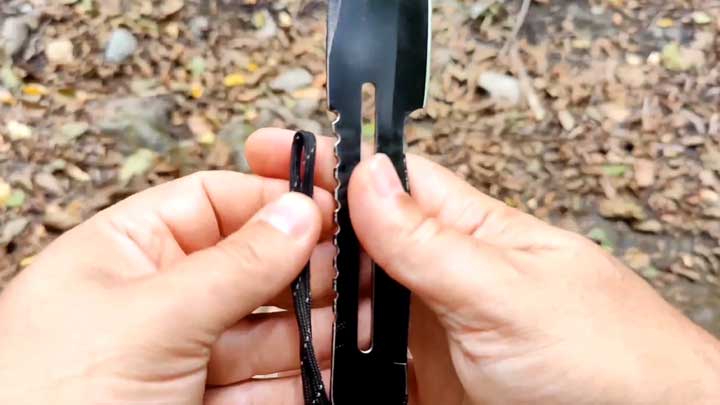
- Place your survival or bushcraft knife above the paracord center point, then bring the right and left rope ends to the top.
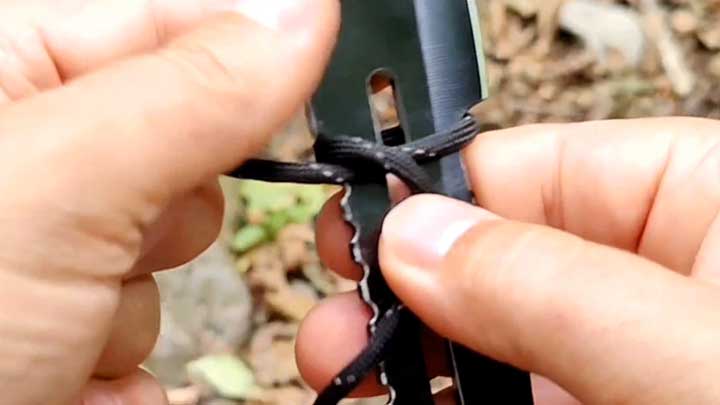
- Pass the cord on the left half around the one on the right, forming U loops around each other. These loops should direct the rope to the side it came from, after which you have to turn the knife to wrap these loops from the other side.
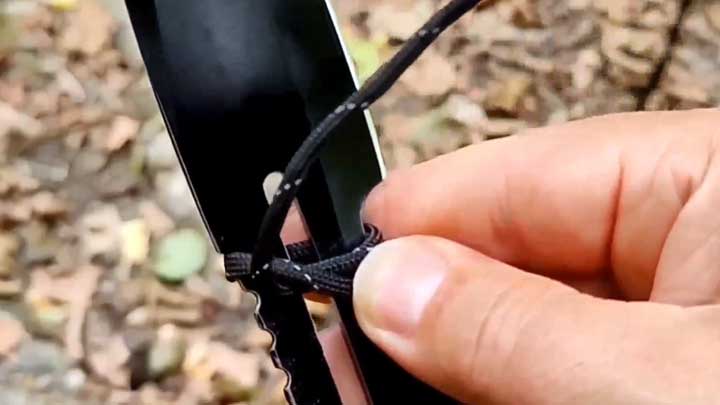
- Keep the cord tight and be precise enough to keep the loops at the center of the handle on each side. If you don’t do this, it will look untidy and asymmetrical.
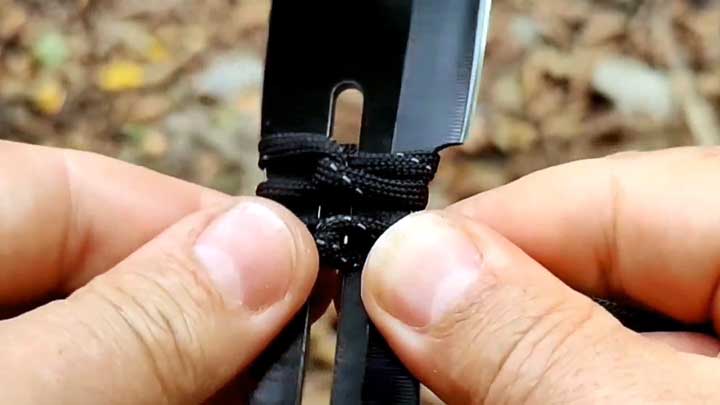
- When you get to the end, secure the paracord handle using one or two basic knots.
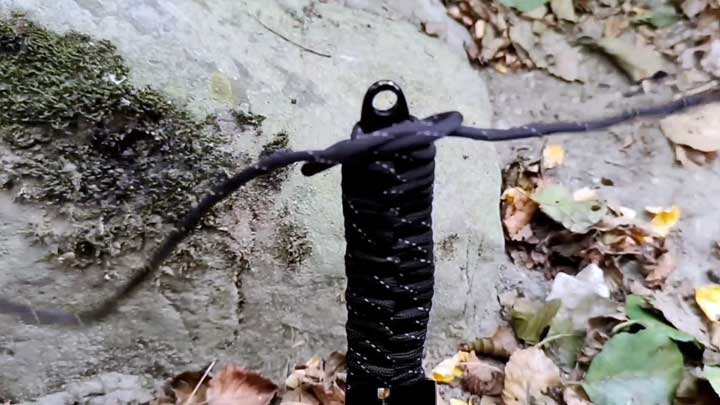
- Feed the two excess cords through the lanyard hole, then tie them together to create the final knot. You can cut the remaining excess ropes or leave them hanging.
Pros
- More ridges give more grip
- Forms a thick handle that is more comfortable to hold
- More aesthetically pleasing
Con
- Difficult to make
Handle with Long Winding and Untying Times
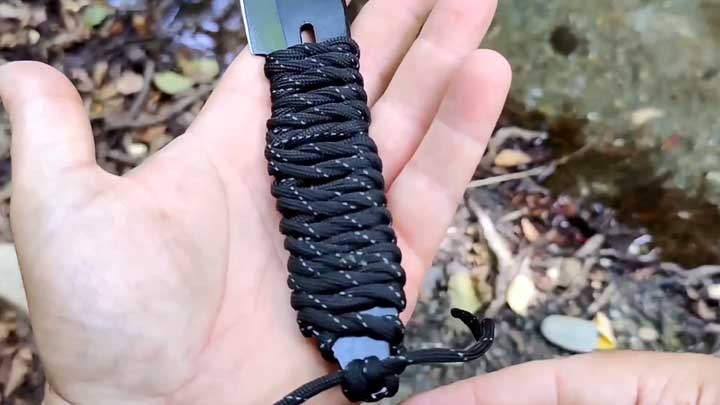
Though it takes the longest time to make, this handle gives the most comfortable grip.
How To Make It
- Begin by dividing it into two halves like in the handle above.
- Place the rope behind the blade while holding it at the center point.
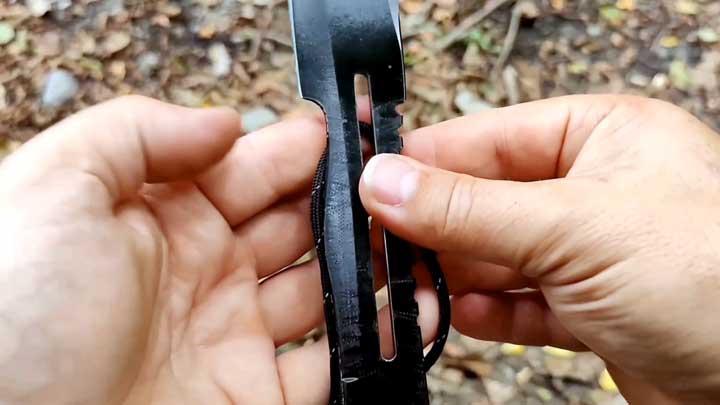
- Pull the left and right sides of the cord around to the upper side but instead of looping them around each other, tie a basic knot.
- Try to keep the knot in the middle of the handle to produce a symmetrical finish.
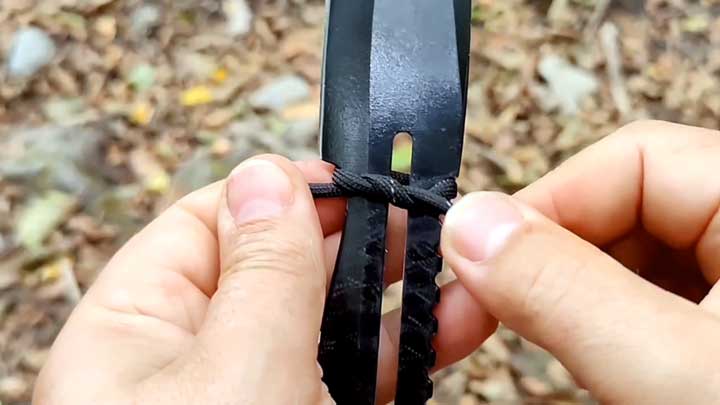
- Flip the knife over to tie a knot on the other side while pressing your index finger tightly on the previous knot.
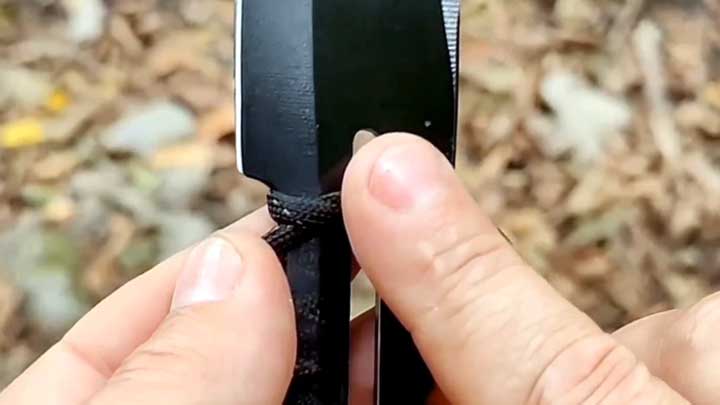
- Continue this tying and flipping until you get to the end of the handle. You will notice the excess thread here will be significantly shorter due to the multiple ties.
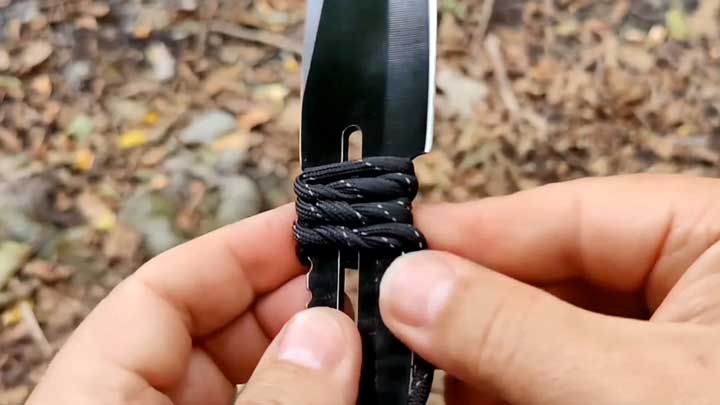
- Make a double knot to secure the paracord handle.
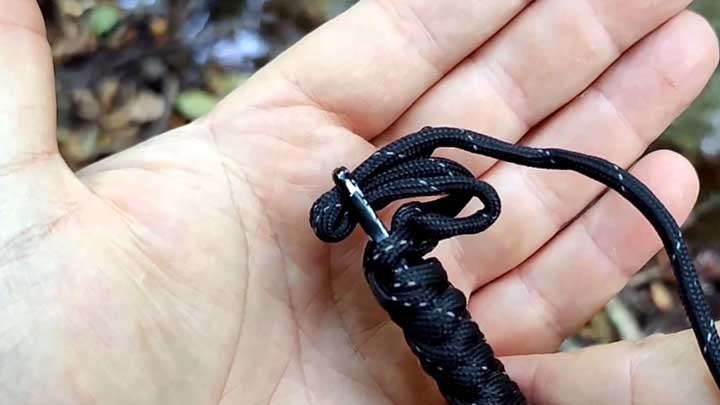
- Feed the two excess cords through the lanyard hole and tie the final knot.
Pro
- Thick and comfortable grip
- Looks good
Con
- Difficult to make
FAQs
How Do You Make a Knife Handle out of Paracord?
Make a knife handle out of paracord by wrapping and tying the cord several times over the existing knife handle. Make sure you have enough rope (about eight feet).
How Do You Make a Paracord Handle?
You make a paracord handle using a parachute cord and a knife (preferably a bushcraft or survival blade). Wrap the rope around the knife handle using the steps above, and there you have it.
How Do You Braid a Knife Handle?
You can braid a knife handle in one of three ways. Either wrap it continuously to form a quick-release handle, fold it into U loops (medium winding/untying time), or tie basic knots as you wrap (long winding/untying time).
Wrap Up
Not only do paracord handles make the knife look good, but they also enhance grip for safe use. It’s not difficult to learn how to make a paracord knife handle. Try to create all three handle types to see which one feels more comfortable in your hand.

